10 Steps To Better Landscape Photos With Your iPhone

(a guest post by Bradley & Jill Roy)
“A good photograph is knowing where to stand.” ~Ansel Adams
Photography is all about being in the right place at the right time, that 3 minute window of time when the golden sunset lights up those trees and that hill just right. Often times these perfect moments catch us without any photography gear, but mobile photography has changed that. Now you have a camera, editing suite, and distribution center right in your front pocket. Here are ten things you can try to improve your own mobile landscape shots:

- Add Depth
Creating depth in a picture adds interest. Instead of just looking at what is in front of you, gaze out into the distance and see how it relates to the objects close by. Its like layering things on top of each other, clouds may be interesting, but think about adding in a stream, some trees, and some sun to that picture. Layering and depth give your eye places to bounce around in an image.
- When editing, experiment with underexposing
This tip breaks one of the “rules” of photography. Common sense tells us to properly expose an image, but experimentation shows that an a slightly underexposed image can bring out beautiful colors and tones that were previously hidden!
- Shoot during the golden hour
A surefire way to improve any landscape photograph is to wait for the “golden hour”, which is the 30 minutes before and after sunrise and sunset. Not only will the contrast of all geographic features improve but there will also be beautiful color to your photograph. Be sure not to leave right at sunset, as often the best colors occur after the sun has dipped below the horizon.

- Eliminate Distractions
A great photograph can be ruined when too many things clamor for your audience’s attention. Signs, power lines, and the like can take away from your picture. Try and find a different location to shoot from by stooping down, moving back or getting closer to your subject.

- Don’t Zoom
Nothing ruins a picture faster than using the digital zoom on your iPhone. You will lose a lot clarity in your image and it will look blurry. It is always better to take an un-zoomed image and crop it down to the size and format you want. If you want a closer shot of your subject, walk towards it or change locations.

- Hold Steady
The iPhone generally uses a slow shutter speed, especially during the lower light of the golden hour. A slow shutter speed can create a blurry image if there is excessive movement of the phone. Use both hands and brace your elbows against your body to keep your iPhone steady. Your photograph will be much sharper.

- You’ll always regret 100% of the shots you don’t take
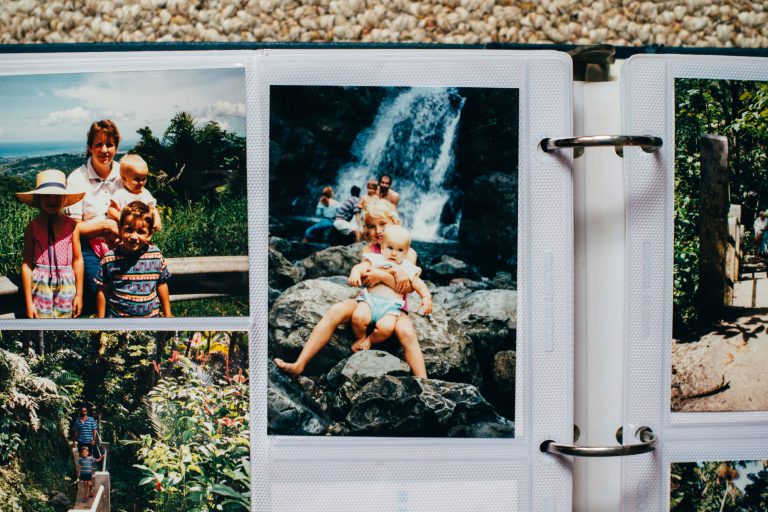
Take enough pictures and then take a few more. The beauty of using your phone is that you will always have it with you. Take advantage of this fact and shoot, shoot, shoot. You’ll never know how they will turn out. Additionally, the more pictures you take, the better you will become and the clearer your photographic vision will be.

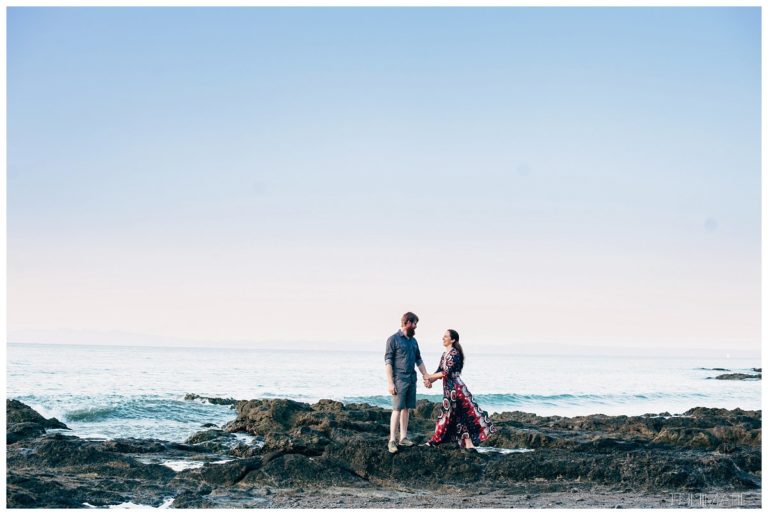
- Provide your audience with scale
Sometimes you need to let your audience know how large or small the object is that you are taking a picture of. To do this, put something or someone next to the object to scale it. For instance, if you are shooting a forest or mountains, include a person next to the object and your audience will be able to understand the magnitude of the subject. It will also help you convey to your audience the sizes of things as they aren’t there when you take the shot.

- Perspective
When you are taking a picture, think about how close or far away to you need to be the capture the scene you want. Sometimes it helps to take a shot with your iPhone on the ground looking up or you can stand on top of something in order to get a new, unique angle. Try shooting something in a way that you haven’t seen done before. For instance, if you shoot a lot of tree shots, consider backing up and getting the whole tree, or lean back to see what they look like against the sky.

- Editing (VSCOCAM)
One app that we highly recommend to use for your editing is VSCOcam. The company that makes this app started out by providing presets to the Adobe Photoshop and Lightroom communities is highly regarded for the classic film look that their filters give to any photograph. These filters and presets help to bring out beautiful tones and qualities in your photographs. Whatever app you decide to use to edit your landscape always remember that less is more and too much editing can ruin your picture.
 Bradley & Jill are a pair of amateur mobile photographers based out of Northern Virginia.
You can view their work on Instagram @joodlesdoodles and @alienleprechaun